New workshop
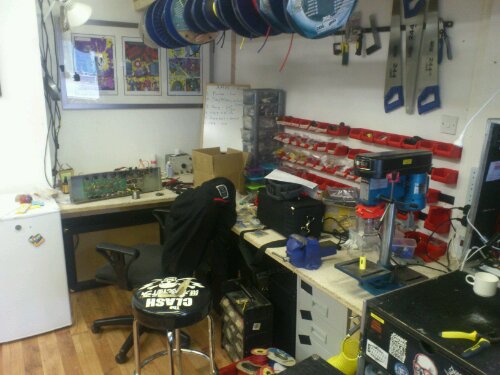
Got a proper workshop sorted awesome stuff
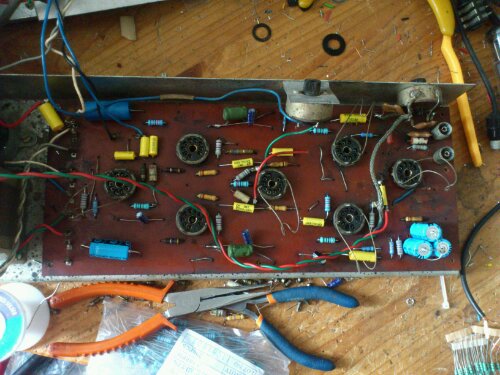
Done a bit more on the bird, swapped out all the bad resistors (pretty much all of them) and rebuilt the reverb circuit Using a 81 driving a transformer and sticking with the 86 for the recovery stage. The cartridges in the old tank had melted and there’s not much chance of getting a stable replacement.
Should hopefully get that done tomorrow and get the amp fired up and running for the first time since I’ve had it!
I’ve also replaced all the big can caps now to.
Here’s an update picture
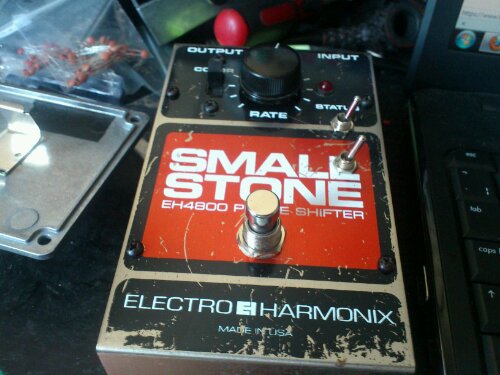
Today since I’m waiting for bits to do the important stuff I thought I’d mod my small stone.
I love this pedal it does a nice wet gurgling sound that I like. Thought I’d see if I could make it more flexible though! Only did two mods and will most likely do more at some point.
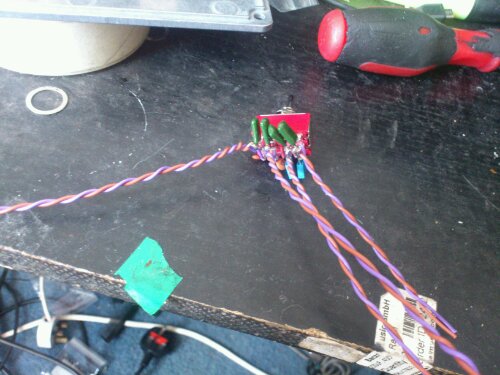
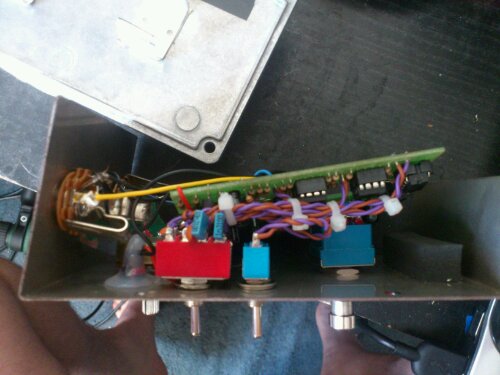
The two mods I did was the uni vibe mod,which Involves changing the caps in the feedback loops so you don’t get quite perfect phasing and adds another flavor and also added a switch that cuts out the dry signal so you just get a vibrato type sound.
Very much enjoy both these mods! Anyway here’s some pictures. Excuse the untidyness.
For info on the mods message me or google mark hamer
Fairly straight forward and always a good thing to do. Originals in the matamp we’re starting to show signs of wear and were covered in electrical tape for some reason or another so i thought it’d be best to just stick a new uprated pair in there.
First off it’s always a great idea to take a picture so you know exactly where the wires are going when you go to put it back together.
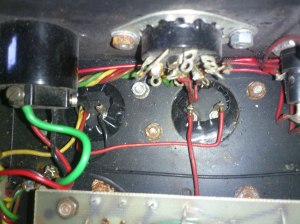
Then remove all the wires, carefully, don’t wanna be scorching all the other ones! Heres the time if you think any of the wires look tired or they might fail to replace them. Always better safe than sorry. Try and use matching colour ones so it looks good
Next unscrew them from the chassis and make sure you don’t lose any of the washers, it’s a bit of a pet peeve of mine to start work on an amp and find half the screws and washers are missing. Didn’t take a picture of me taking it out unfortunatly.
Take the old capacitors out of the clips and put the new ones in. Heres pictures of the old caps, with the electrical tape off. Had to replace one of the capacitor clips since one of them had been bent out of shape due to the over wide caps forced in.
New ones stuck in clips and then soldered back in! Job’s a good un, onto cleaning the amp up next then it should be ready for it’s first firing up!
remember to keep your wiring tidy since it’s easier to follow if you’ve done something wrong and it’s not a rats nest.
Nice clean install. Looks like you may have tugged the red and yellow wire a little bit midway from the kink though, as they don’t quite look as graceful as the earlier incarnation.
Hah, I kid. Top notch.
Yeah everything get’s a tidy up at the end ;p i assume most of the wiring will have to be moved about anyways haha.
Reply